The 180 degree asymmetric tent mechanism is an advanced variation of the classic tent structure. By breaking left-right symmetry, the two sides can differ in length or angle, which creates a pop-up form with more motion and more visible spatial layering as the page opens.
This mechanism works especially well for irregular scenes, character interaction, or compositions with a clear visual direction. Compared with a symmetrical tent structure, it feels more vivid and expressive, but it also demands tighter fold control and a stronger understanding of structural behavior, so it is better suited to makers who already have some paper engineering experience.
Mechanism Category
Primary Category: Tent Structure
Structural Feature: Asymmetric Structure
Opening Angle: 180 Degree Structure
Let's build it ourselves. Follow the detailed steps below:
Step-by-Step Guide
Step 1: Prepare the materials and tools
Before building the 180 degree asymmetric tent mechanism, it is best to prepare the basic tools first. Unlike a traditional symmetrical tent structure, this version creates stronger spatial change through left-right asymmetry, so material stability and cutting precision become even more important and will directly affect the final opening result.
Materials and tools:
- 250g Dutch cardstock (recommended)
- Craft knife or scissors
- Glue or double-sided tape
- Cutting mat
250g cardstock gives the mechanism good support. Even under asymmetric loading, it can remain stable when the page opens to 180 degrees and is less likely to deform. If thinner paper is used, one side may collapse more easily or the structure may lean.
It is recommended to cut with a craft knife and ruler so the fold lines stay crisp and the structure remains accurate. Because the left and right sides differ in length or angle, small cutting errors become much more noticeable in this mechanism, so this stage deserves extra care.
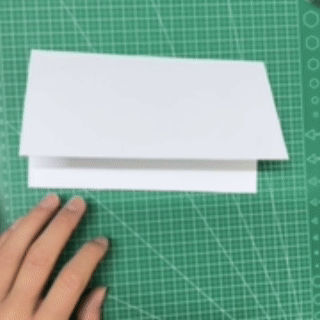
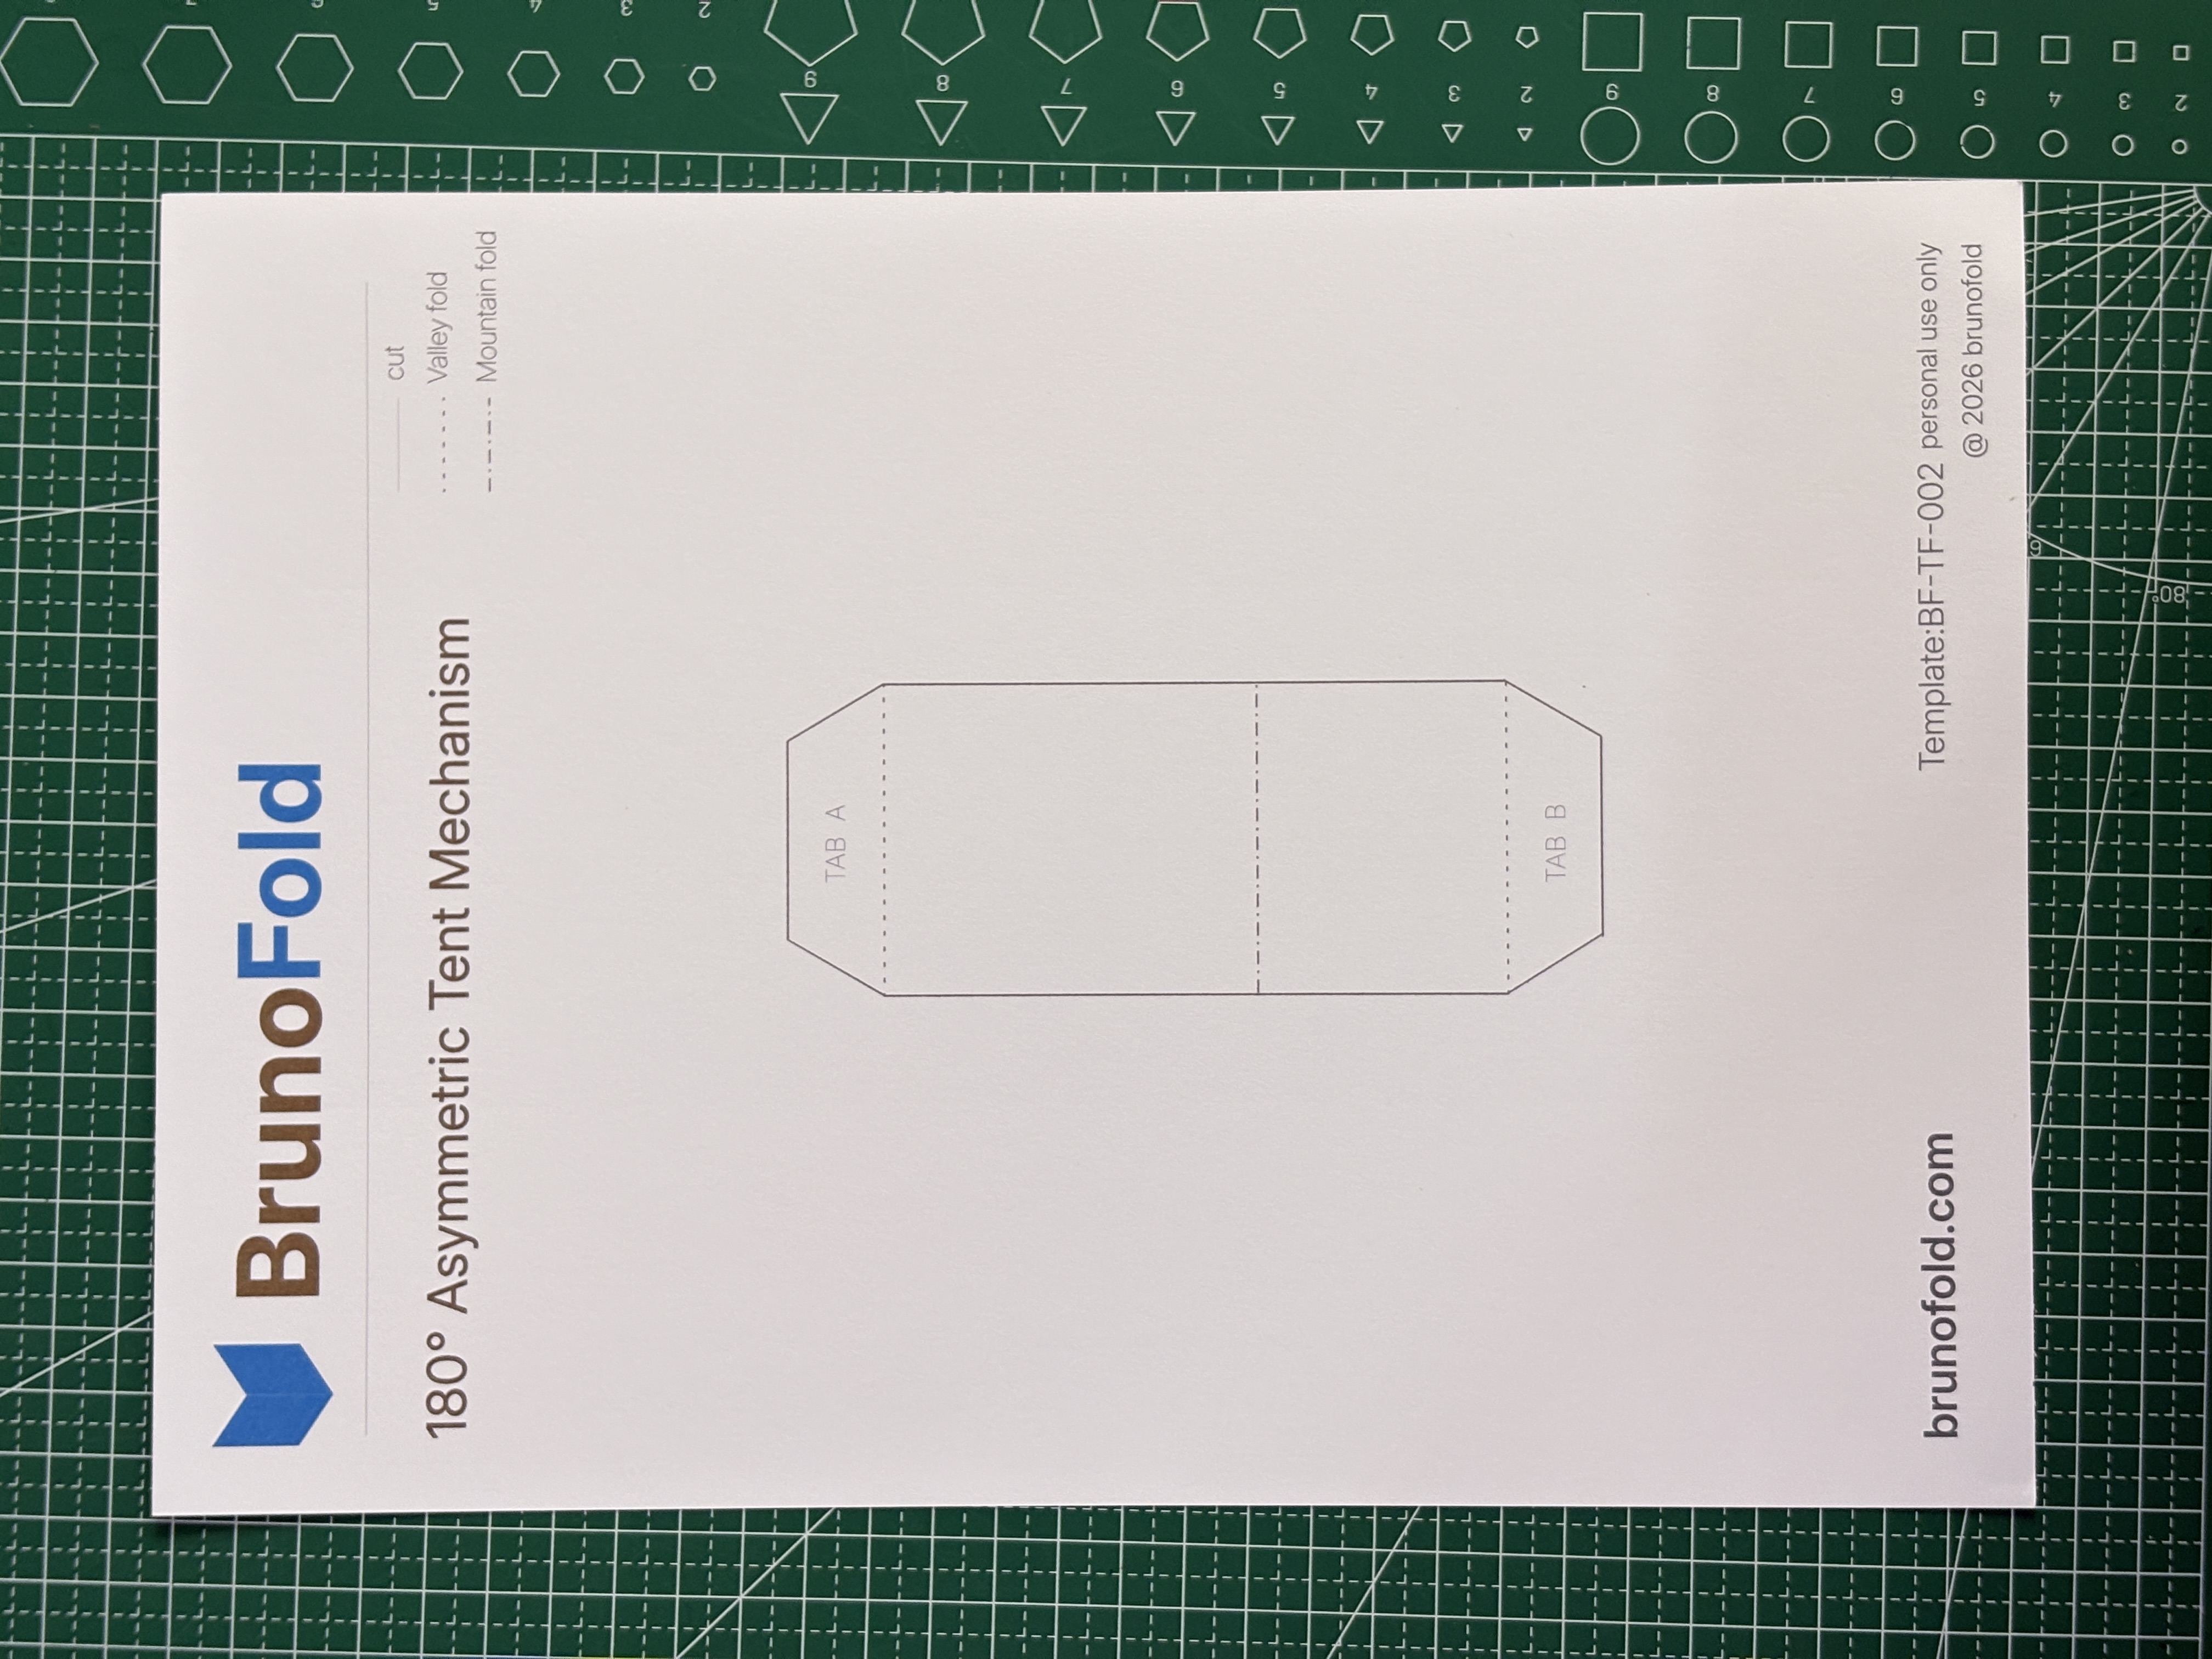
After printing the template, the setup should look like the images below: the template is printed accurately on cardstock, placed on a cutting mat, and ready for cutting and scoring.

Step 2: Cut the template and score the fold lines
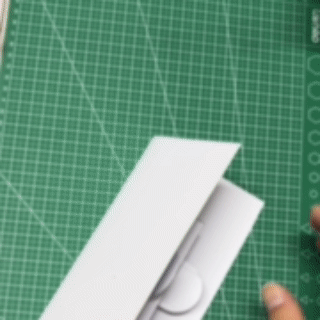
After preparing the tools and printing the template, start by cutting the template. Follow the solid cut lines with scissors, or use a craft knife together with a ruler for higher precision. Once the cutting is finished, you will have the initial outline of the structure, as shown below.
Unlike a traditional symmetrical tent structure, the 180 degree asymmetric tent mechanism has differences in shape, length, or angle between the left and right sides. Because of that, boundary accuracy during cutting matters much more, and any mistake can directly affect how the structure opens later.
The next key step is scoring.
Why is scoring necessary?
Because cardstock is relatively thick, folding it directly can produce crooked creases, fuzzy edges, and uneven force distribution. In an asymmetric tent structure, those errors can become even more obvious and may cause:
- One side to rise too high or too low
- The structure to tilt or feel unstable
- The opening and closing motion to become less smooth
Scoring the fold lines in advance helps guide the paper along the intended path and makes the final structure cleaner and more stable.
How to score:
- Find the dashed lines in the template
- Align a ruler along each dashed line
- Use an empty ballpoint pen, scoring stylus, or another blunt tool to slide along the line
- Apply even pressure so the paper forms a clear but not overly deep groove
After scoring, those positions will fold more accurately and help the structure open flatter at 180 degrees.
For the asymmetric tent mechanism, this is not just a supporting step. It is one of the key foundations that determines whether the structure can open correctly.
Step 3: Fold slowly and test the opening motion
After cutting and scoring, you move into the most important folding stage. This is not a step to rush. Patience matters more than speed. Since 250g cardstock is fairly thick, forcing the folds too quickly can shift the crease line and affect both the stability of the structure and the final visual result.
This matters even more in a 180 degree asymmetric tent mechanism. Because the two sides differ in length or angle, any small error can become more visible and change how the mechanism opens and closes.
The correct folding method:
- Fold gradually along the scored dashed lines
- Bring the fold out gently first so the paper bends naturally along the groove
- Deepen the crease step by step instead of forcing it flat all at once
If one section feels stiff, do not force it. Repeating several light folds allows the paper fibers to adapt gradually to the folding angle. This produces cleaner and more accurate crease lines while reducing the chance of deformation.
Opening and closing tests are very important. While folding, it is helpful to test the motion at the same time:
- Open the page gently to nearly 180 degrees
- Close the page again slowly
- Watch whether the structure rises and collapses smoothly
With an asymmetric tent structure, you may notice:
- One side rises first while the other follows slightly later
- The structure shows a slight lean or offset
- The opening motion feels more dynamic
These effects are usually normal and are part of the design character of the mechanism.
If the motion catches or the shape looks uneven, you can:
- Score the fold lines again
- Adjust the folding angle slightly
- Check whether any cutting error is present
Unlike a traditional tent structure that depends on strict center-axis symmetry, the 180 degree asymmetric tent mechanism emphasizes direction and spatial variation. The two sides do not need to open in perfect sync, and the visual weight may naturally lean toward one side. For that reason, the goal of this step is not perfect symmetry. The goal is smooth motion together with a stable and natural three-dimensional form.
Once all fold lines are adjusted, the structure will rise naturally from the flat sheet and form a layered pop-up result. At this point, the basic asymmetric tent mechanism is complete.
Note: Step 1 uses dedicated English visuals. Steps 2 and 3 currently reuse the Chinese images because separate English versions were not provided.
Next Article
180 Degree Parallel Open Box Mechanism Guide | Classic Pop-up Book Box Structure Tutorial