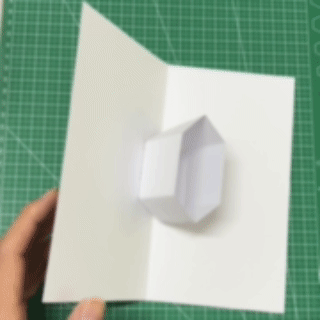
The 180 degree coupled tubular mechanism is a paper-engineering structure built from symmetrical folds and tubular forms. When the page opens from the closed state to 180 degrees, the left and right tubular sections expand together and create a stable pop-up result with a strong rhythmic feel.
Its paired linkage keeps the two tube bodies moving in sync during opening and closing. That relationship improves visual impact and structural stability at the same time. This mechanism works well for pop-up book layouts, symmetrical scene displays, and repeated spatial compositions, and it sits in a classic middle ground between beginner practice and more advanced structural study.
Mechanism Category
Primary Category: 180 Degree Symmetrical Structure
Structural Type: Tubular Structure
Motion Type: Coupled Linkage Mechanism
Let's fold it together. Here are the step-by-step instructions:
Step-by-Step Guide
Step 1: Prepare the basic materials and tools
Before making the 180 degree coupled tubular mechanism, prepare the basic materials and tools first. A proper tool setup improves efficiency and also makes it easier to keep the structure aligned accurately in the final result.
Materials and tools:
- 250g cardstock, preferably Dutch cardstock
- Craft knife or scissors
- Glue or double-sided tape
- Cutting mat
Cardstock around 250g performs very well in three-dimensional paper structures. It offers enough support while still keeping the folds accurate. If Dutch cardstock is not available, a high-quality cardstock in the 200g-300g range is also a workable substitute.
For cutting, a craft knife with a ruler is recommended whenever possible. It gives cleaner edges and is especially useful for mechanisms that include many straight structural lines.
For assembly, you can choose the adhesive that best fits your working style:
- Double-sided tape helps keep the page clean
- Liquid glue gives stronger hold at critical connection points
A cutting mat is also important. It protects the work surface, makes cutting smoother, and improves the overall making experience.
Once the template is printed and fixed onto the cardstock, you can move on to the next stage: cutting and scoring.

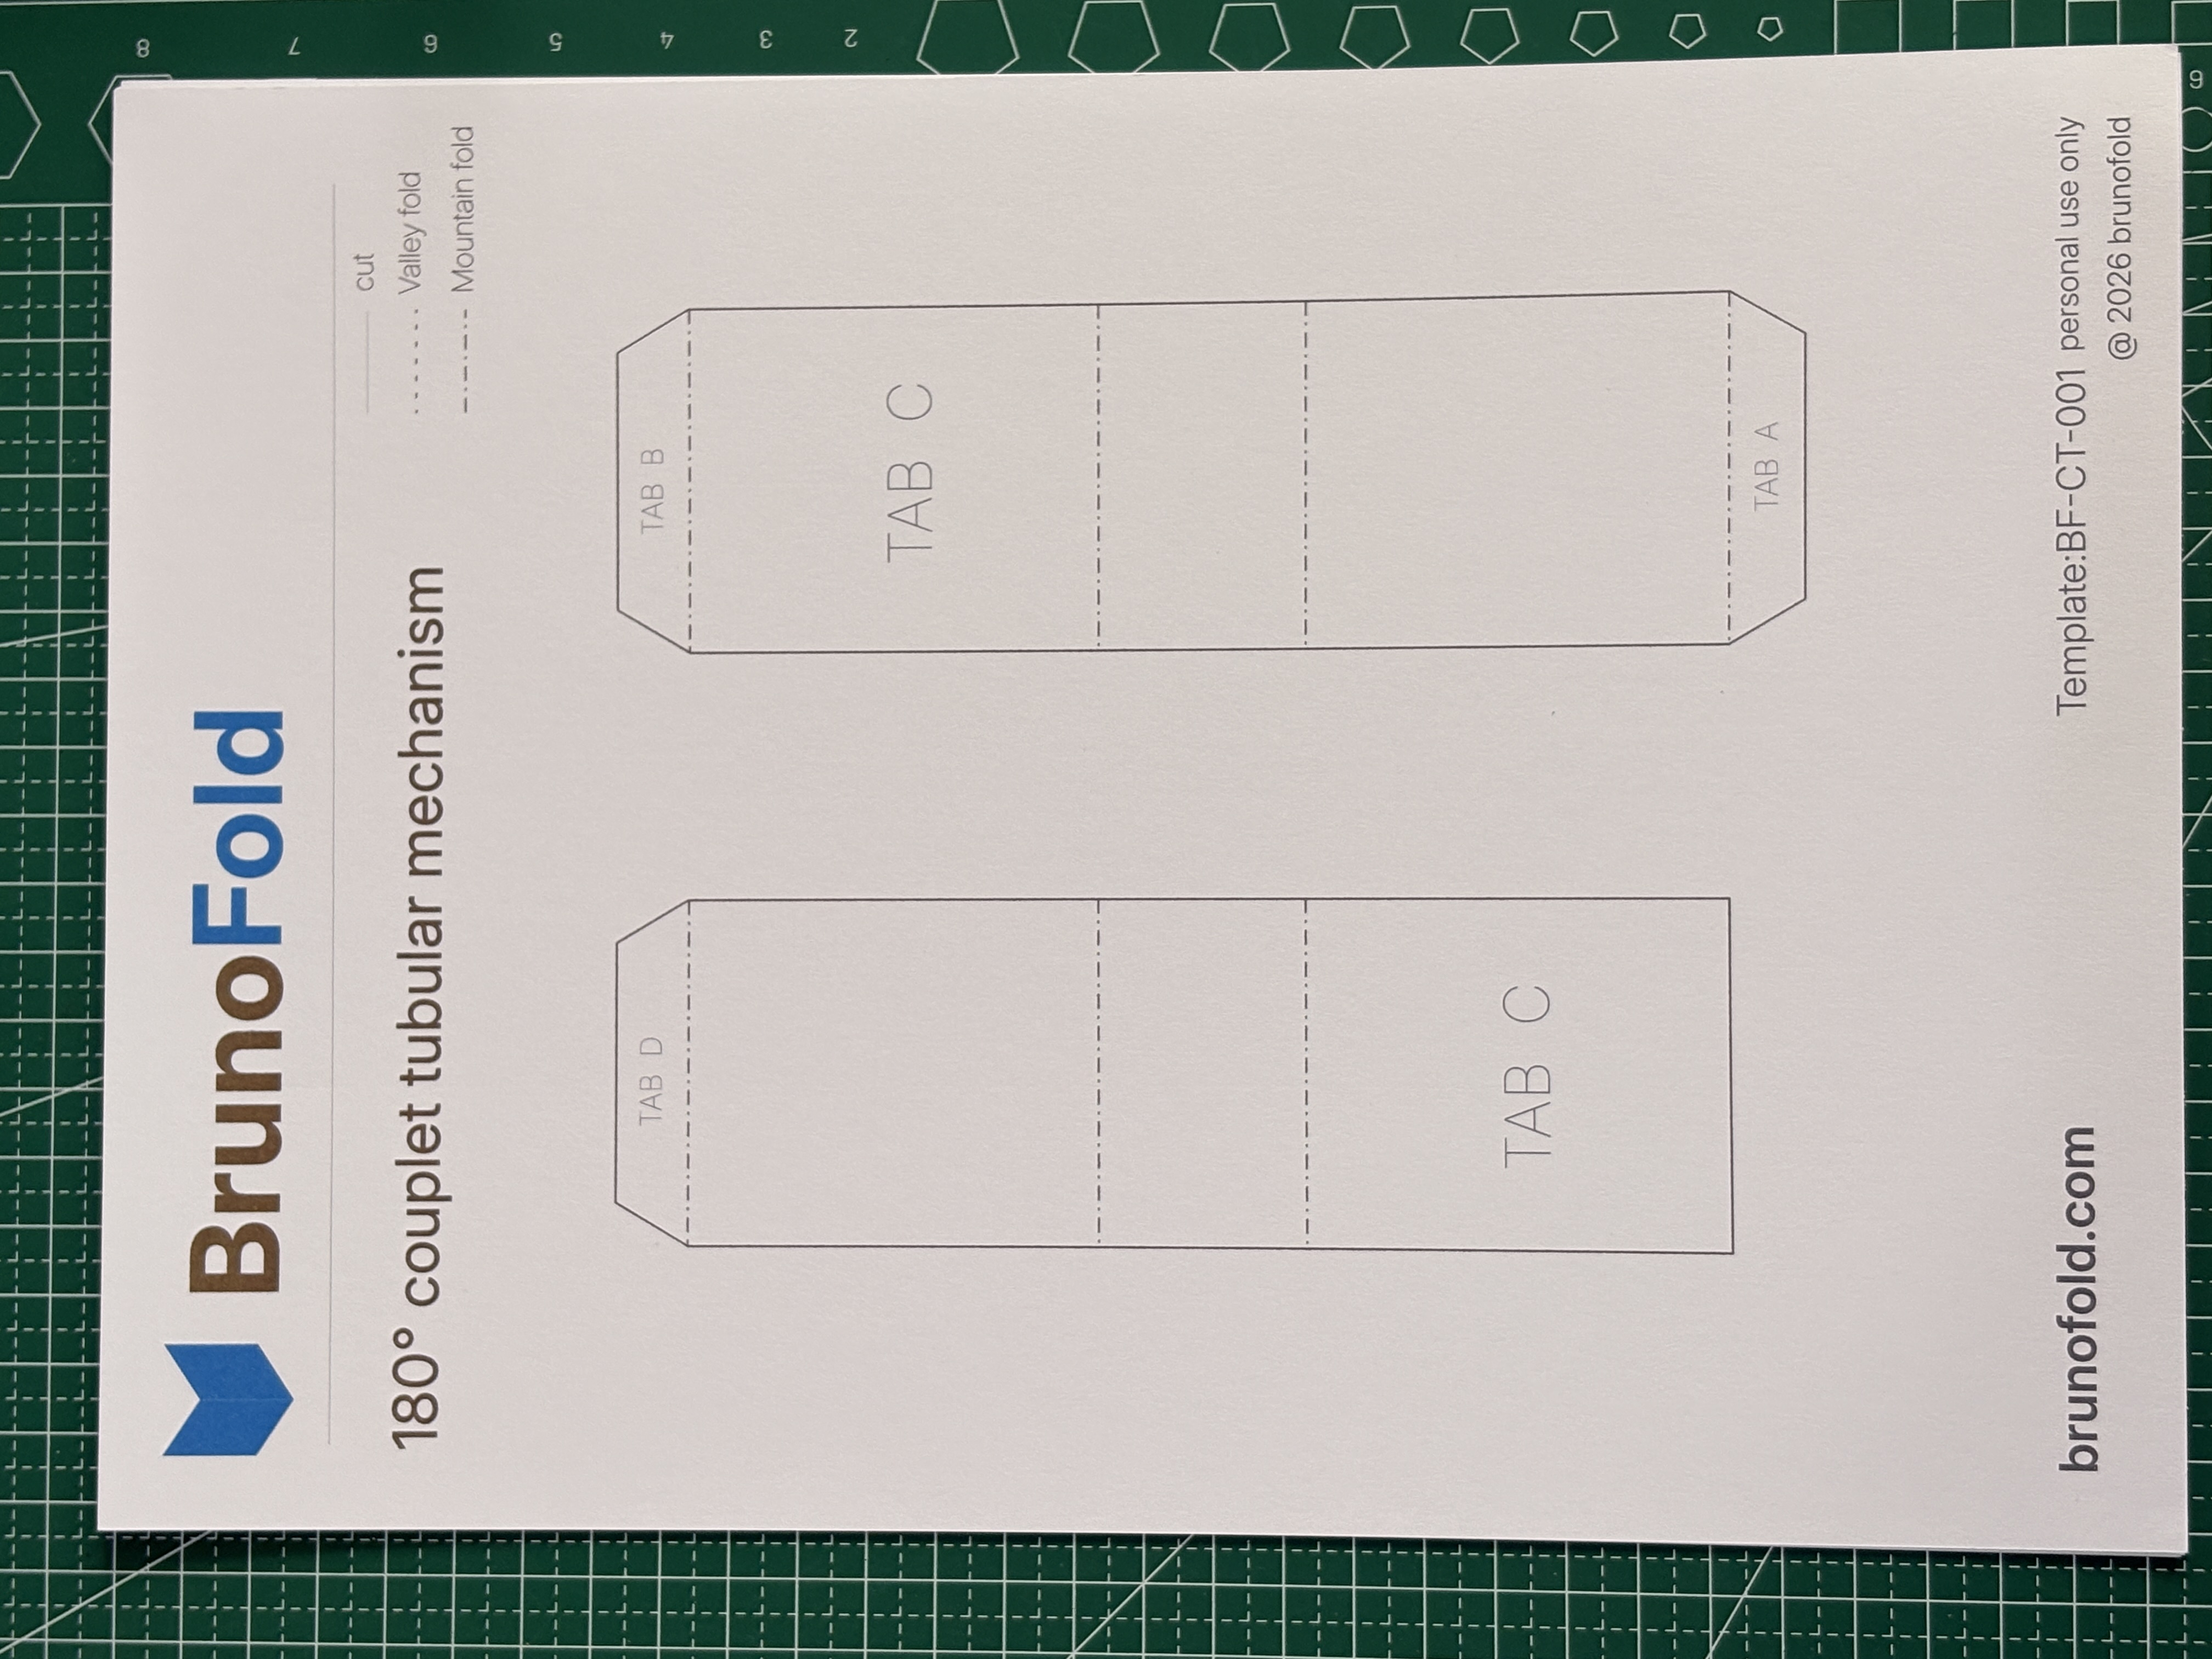
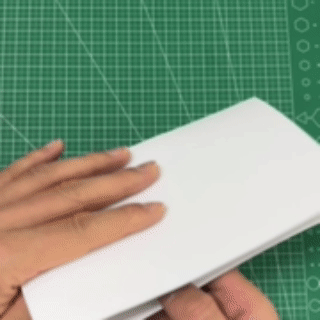
Step 2: Cut the structure template and score the fold lines
After printing the template, the next step is to cut the structure accurately and prepare the fold lines. This stage has a direct effect on how smoothly the later folds move and how cleanly the pop-up structure opens.
Start by cutting along the solid cut lines in the template. Scissors can handle the basic cutting, but if you want cleaner edges and better structural accuracy, it is best to use a craft knife together with a ruler for straight cuts.
Once the cutting is complete, you will have the full flat outline of the structure.
Why is scoring such an important step?
Because cardstock has visible thickness, folding it directly can cause several problems:
- Crooked fold lines that reduce overall symmetry
- Wrinkles or cracks on the paper surface
- Opening motion that feels rough or starts to drift out of position
Scoring guides the paper along the intended fold path and makes the folds much more controllable, which improves both precision and stability in the final structure.
How to score:
- Find the dashed fold lines in the template
- Align a ruler with each fold line
- Use an empty ballpoint pen, a scoring tool, or another blunt tool
- Slide lightly along the dashed line to create a clear but not overly deep crease guide
Note: Use moderate pressure. If the scoring is too light, the fold will be harder to control. If it is too heavy, the paper structure can be damaged.
After scoring, the paper will form controllable bend points at the key fold lines. That makes the later folding smoother and helps the final 180 degree opening stay cleaner and more stable.
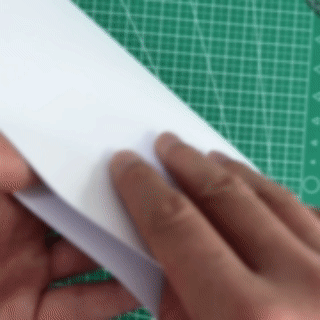
Step 3: Fold slowly and test the opening motion
After cutting and scoring, you reach the most important stage in the whole making process: forming the structure through folding. Unlike the earlier steps, this stage is not about speed. It depends much more on patience and careful hand control. Because 250g Dutch cardstock has noticeable thickness, forcing the folds too quickly can shift the crease lines and affect the overall flatness of the structure.
A better method is to follow the scored dashed lines and fold gradually from one end. Start by bringing the crease out lightly so the paper can bend naturally along the scored path, then deepen the fold little by little through several gentle passes. If one area feels stiff or resistant, do not press it flat all at once. Repeated light folds allow the paper fibers to adapt to the angle gradually and produce cleaner, sharper crease lines.
While folding, it is helpful to test the opening and closing motion at the same time. Open and close the page gently and watch whether the structure retracts and rises smoothly. If one fold line still looks weak or slightly off, score it again lightly or adjust the angle before continuing. This fold-and-test process helps prevent later sticking or distortion.
Once all the folds are complete, the flat sheet will naturally transform into a three-dimensional form. The paired tubular units will rise as the page opens and create clear spatial layering, which is one of the most essential and recognizable effects of this coupled tubular mechanism.
At this point, the basic structure is finished. From here, you can decorate it, stack additional parts onto it, or combine it with other structures to build more complex and expressive pop-up work.
Note: Steps 2 and 3 currently reuse the Chinese visuals because separate English versions were not provided yet.
Next Article
180 Degree Parallel Cube Mechanism Explained: From Flat Folding to Cubic Expansion